Portal navigation and roles
This page maps the portal: where each area lives in the rail and the menu, and what each role can actually do there. Keep it handy as a reference — every item links deeper into the relevant docs…
Written By Christopher Scaminaci
Last updated 4 days ago
This page maps the portal: where each area lives in the rail and the menu, and what each role can actually do there. Keep it handy as a reference — every item links deeper into the relevant docs section.
The four roles
The rail and the menu
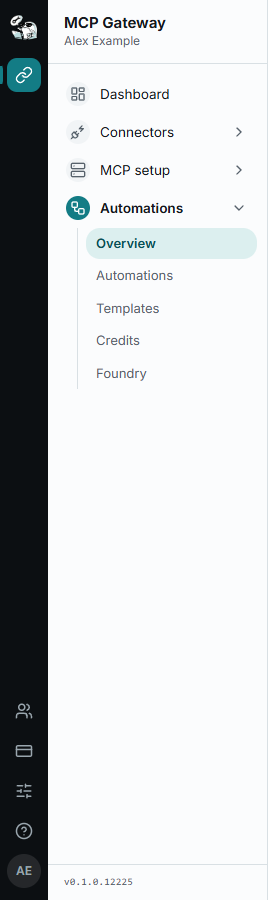
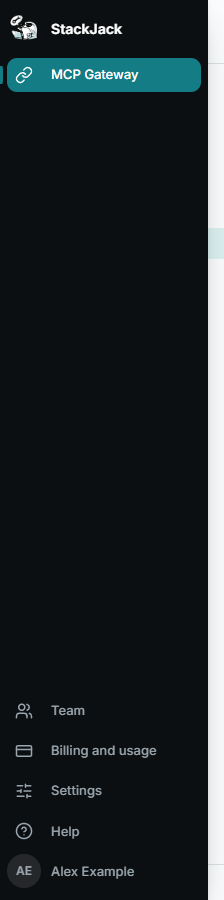
The portal's navigation sits at the left of every page in two parts. A narrow dark rail of icons comes first. Beside it is the menu, which lists the areas of the product the rail has selected. An area with more than one section lists its sections under it in the menu. The chevron beside the area opens or closes that list, and the area you are in is already open. The portal build version is at the bottom of the menu. What changes by role is what you can do on each page.
The top of the rail holds one icon per product you can open, in this order:
The bottom of the rail holds the organization items, which are the same whichever product you are in: Team, Billing and usage and Settings. Below them are Help and your avatar menu. When you select an organization item, the menu lists that item's pages, for example Members, Roles and Directory sync for Team.
The rail shows icons only until you point at it or move keyboard focus into it. Then it widens on top of the menu, without moving the page, and shows the name beside each icon. On a small screen the names are always shown.
MCP Gateway menu
Automations menu
Select the Automations icon on the rail. Its menu has one area, Automations, with five sections under it.
Organization items (bottom of the rail)
Three former nav items no longer have a place of their own:
- Permissions is now the API Permissions action on each connector card. The
/permissionsdeep link still works and can pre-select a connector. - My Connectors is now My sign-ins under Connectors in the menu.
/my-connectorsredirects to/connectors. - Connected Apps management moved to Team (expand a member row).
/connected-appsredirects to/endpoints, where Your AI connections under MCP setup gives you a read-only view of your own AI connections.
StackJack staff and partners see the Operator and Partner products on the rail; ordinary customer accounts do not see operator navigation.
Top bar (every page)
Your avatar menu (bottom of the rail)
- Your name (from your sign-in identity).
- My AI activity — opens your own AI use in AI Governance, for people who hold an AI Governance role.
- Sign out — ends both the portal and identity session.
- The portal build version. The same version is also at the bottom of the menu.
Handy behaviors worth knowing
- Light and dark themes: the portal starts in your device's light or dark setting. Choose Light, Dark or Match system from the theme button in the header at any time; the choice is saved in this browser, so set it once on each device you use.
- Support from anywhere: the Support button in the header opens the messenger on every page, and the corner launcher opens the same thing. Your tickets, their replies, and the help center all live inside it. See Getting Help.
- Deep links: several pages accept links used throughout the product — for example, Connectors can open a specific connector's configuration dialog,
/permissionscan pre-select a connector, and the feature-gated Region page of Settings is available directly at/settings/region; it appears in the Settings menu only when your organization can move. - Restricted pages never hide silently: if your role can't act on a page, you get an explicit notice explaining who can, rather than an empty screen.
Was this helpful?
Still need help? Ask the team